
Last updated November 15, 2026
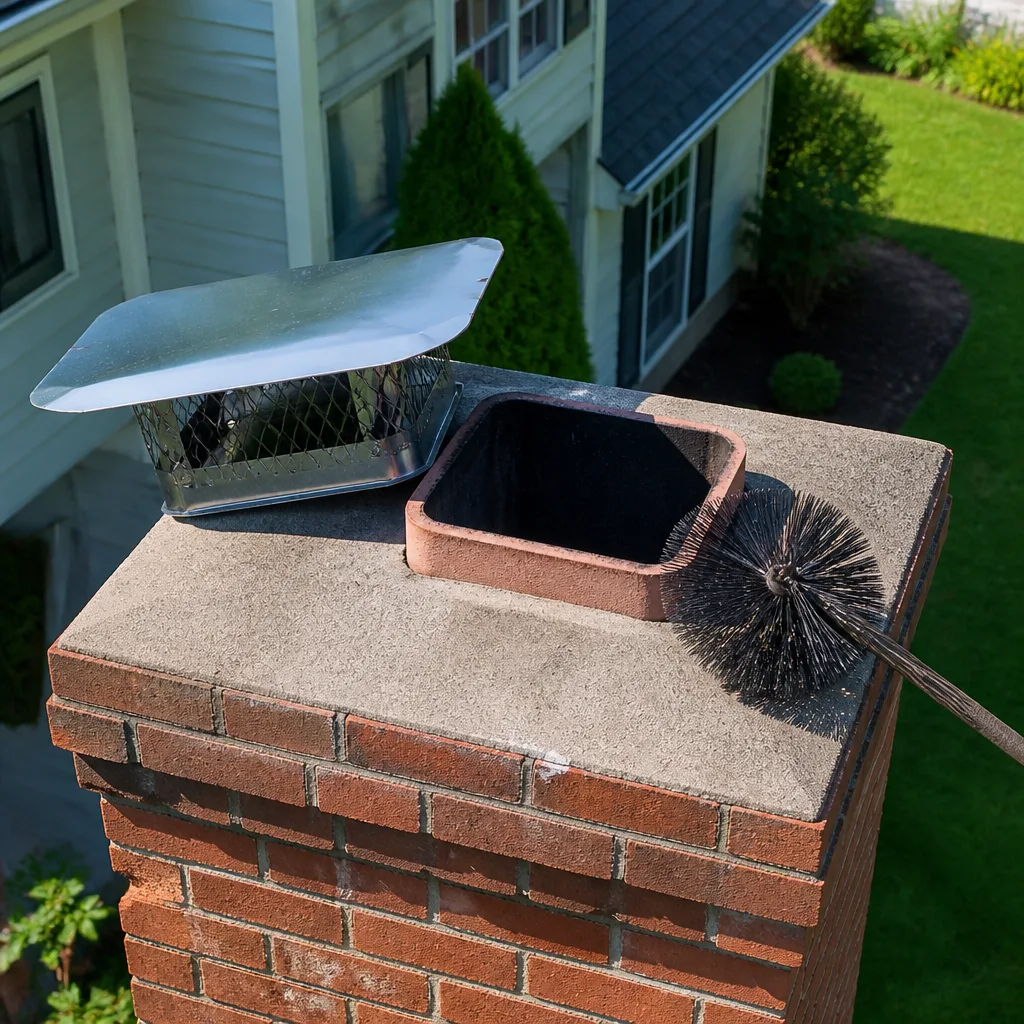 Sweep & inspection
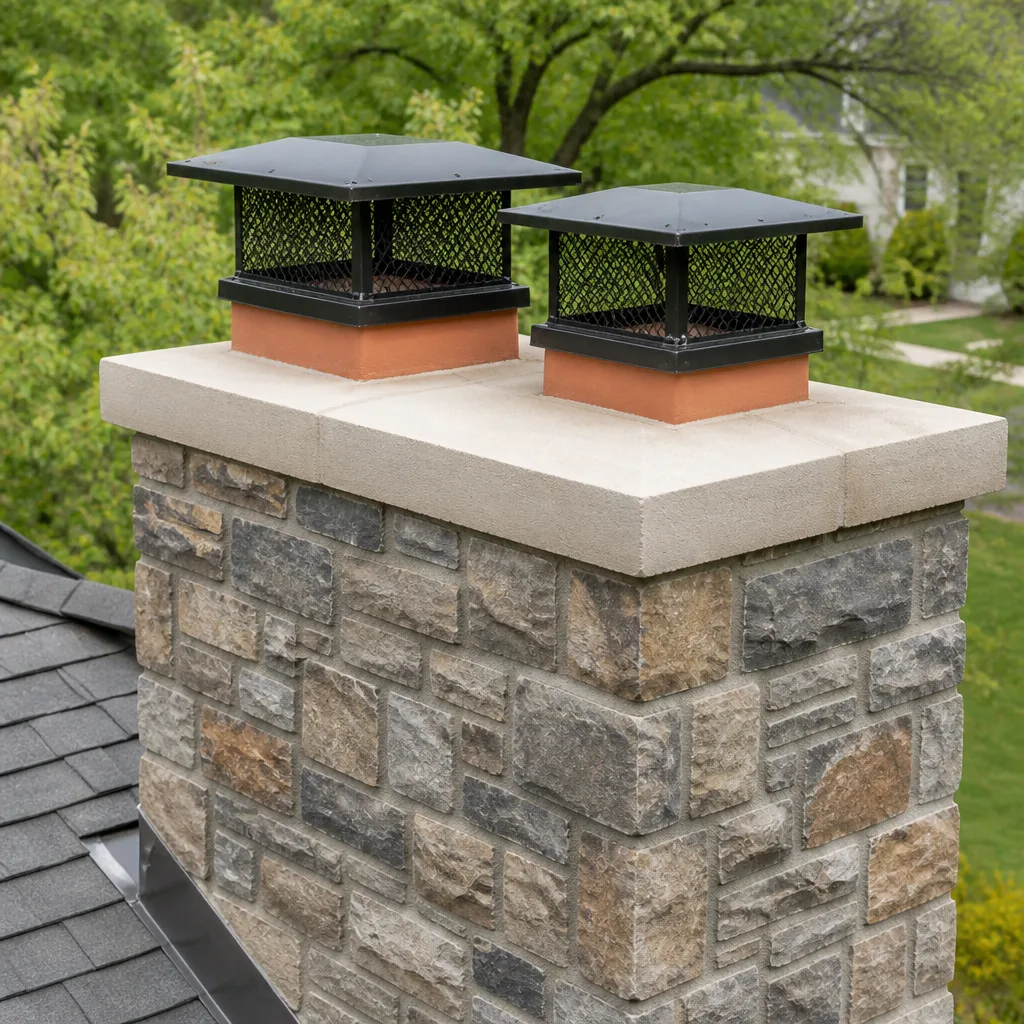 Caps & crowns
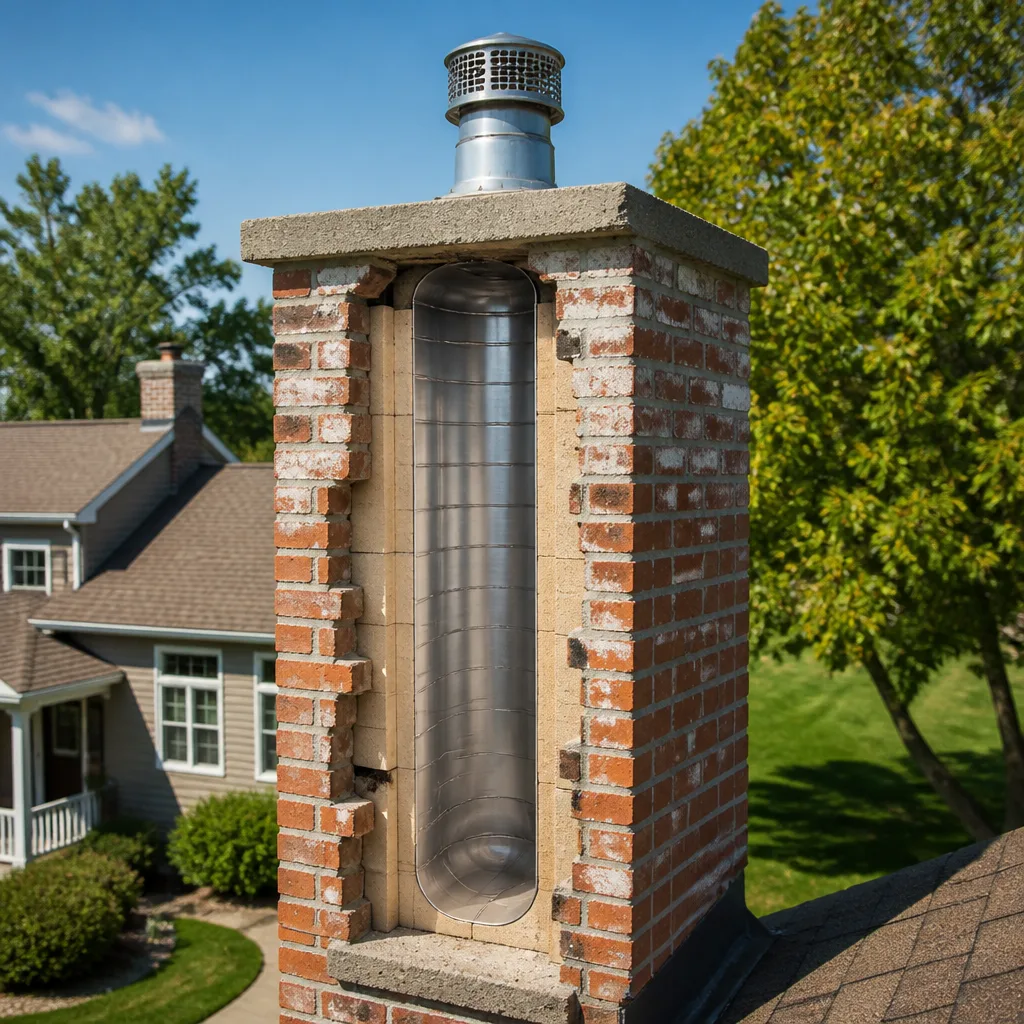 Flue relining
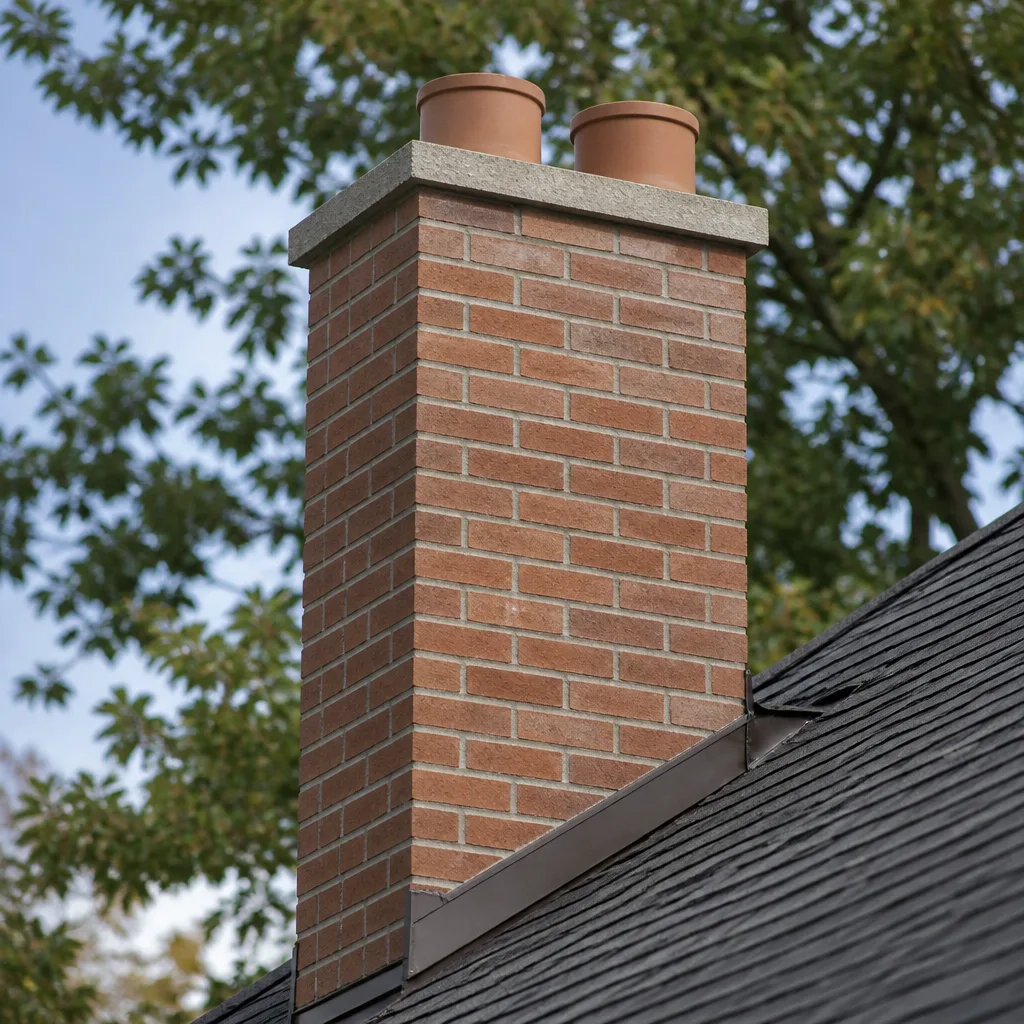 Masonry repair
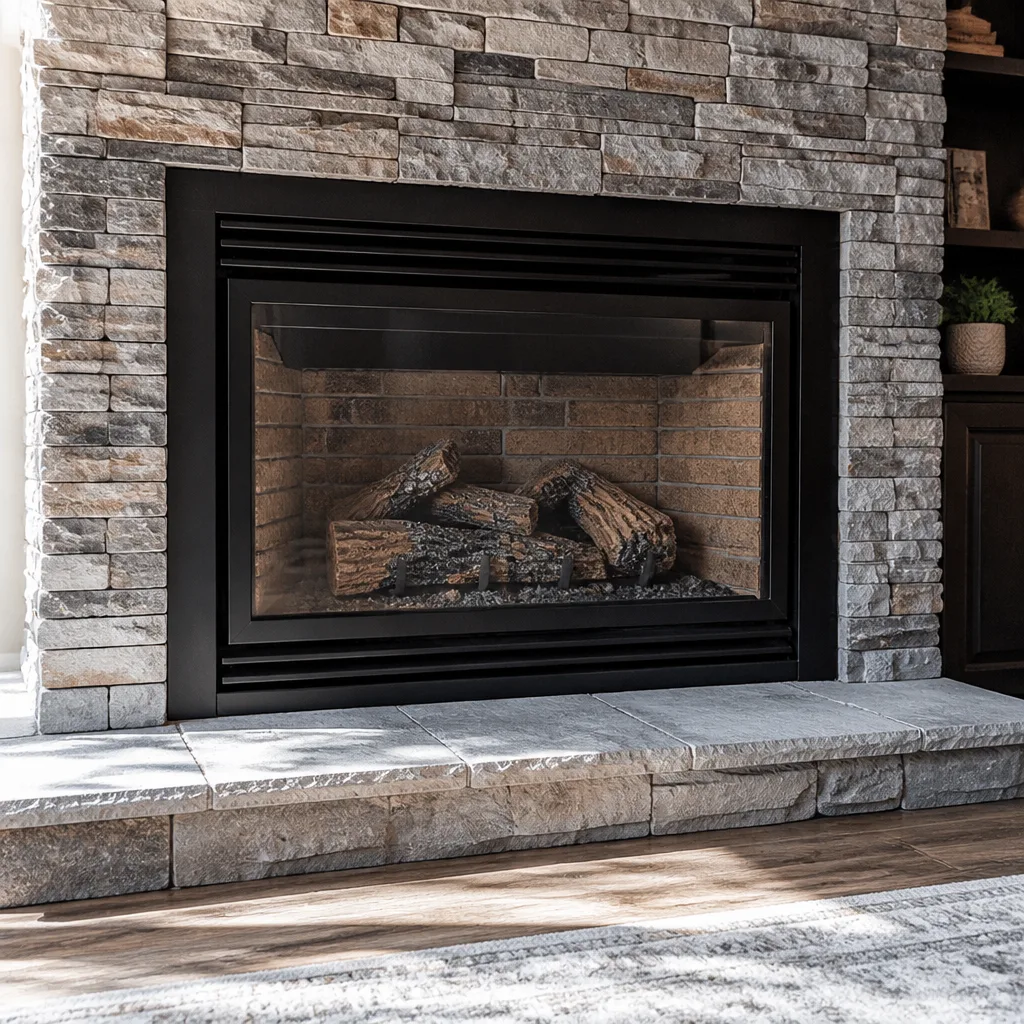 Gas fireplace service
Level 1 sweep and inspection to the NFPA 211 annual standard - flue, crown, cap, and flashing checked and photographed
Chimney sweep logs do not sweep chimneys. They loosen some creosote - which then falls where a brush and vacuum still have to collect it.
Chimney Sweep Maintenance Checklist for Provo Homeowners
Most chimney maintenance checklists are written as if every homeowner owns a ladder, a flashlight bright enough to see up a flue, and the training to tell stage 2 creosote from glazed stage 3. That’s the misconception worth clearing up first: you don’t need to inspect your own chimney, but you do need to know which things you can safely observe and which ones require a trained sweep’s tools. The difference matters. A homeowner who understands that split walks into each heating season knowing exactly what to report, what to photograph, and when to book. Over the next few thousand words we’ll lay out a checklist built for Provo specifically, split into what you can check yourself and what stays in the sweep’s hands.
Quick Answer
A chimney maintenance checklist for Provo homeowners has two halves. The first covers what you can safely observe yourself once or twice a year: firebox joint separation, damper operation, efflorescence on the exterior chase, smoke chamber staining, and the condition of the cap. The second covers what a trained sweep must evaluate with tools and a camera: liner integrity, creosote stage, crown mortar, and flue dimensions. Book the professional sweep in September, before Provo’s inversion season begins, and pair it with a dryer vent cleaning on the same annual cycle. Clean, inspect, and repair in one visit beats two separate appointments into March.
Styles & brands we work with
- Sweep & inspection
- Caps & crowns
- Flue relining
- Masonry repair
- Gas fireplace service
Table of Contents
- What You Can Check Yourself: The Owner-Observable Checklist
- What Requires a Trained Sweep: The Professional Checklist
- Understanding Creosote Stages: Stage 1, Stage 2, and Glazed Stage 3
- Why September Is the Highest-Value Sweep Month in Provo
- The Dryer Vent Checklist: Same Annual Cycle, Same Fire Risk
- How to Document Conditions With Dated Photos
- Where DIY Stops: Safety Limits Every Homeowner Should Know
- When a Sweep Becomes a Repair: What to Expect Next
What You Can Check Yourself: The Owner-Observable Checklist
The owner-observable half of the checklist requires no tools beyond a flashlight and your phone camera. It is genuinely useful because the earliest signs of trouble almost always show up somewhere you can see without opening the flue. Run through these four items once in the fall and once in early spring.
Firebox joint separation. Look at the mortar joints between the firebrick on the back and side walls of the firebox. Hairline cracks in the mortar are common and often harmless. What matters is a joint that has pulled apart wide enough to slide a dime into, or a firebrick that rocks when you press it gently with a gloved hand. Both suggest the firebox is no longer containing heat the way it should. Photograph it and report it to your sweep.
Damper operation. Open and close the damper several times in one motion. It should move smoothly between fully open and fully closed without grit, sticking, or a metallic scrape. A damper that sticks open wastes heat up the flue all winter; one that sticks closed is a carbon monoxide hazard when you light a fire. If yours doesn’t move freely, that’s a sweep call.
Efflorescence on the chase. On the exterior of your chimney, look for a chalky white or grayish powder blooming out of the brick or mortar. That’s efflorescence, and it means moisture is moving through the masonry and depositing mineral salts on the surface as it evaporates. Provo’s freeze-thaw cycles in late winter and early spring push this process hard. Efflorescence is your early warning that the crown, cap, or flashing is letting water in.
Smoke chamber staining. Shine a light up past the damper into the smoke chamber, the sloped area between the damper and the flue. Look for dark streaks or a shiny, tar-like coating on the corbelled brickwork. Heavy staining there means smoke is lingering and condensing rather than flowing cleanly up and out. That points to a drafting problem or a buildup problem, and both need a sweep’s eyes.
Take a photo of each item on the same day each year. Those dated images become the baseline your sweep evaluates against on every visit.
What Requires a Trained Sweep: The Professional Checklist
The sweep-specific items on this checklist are the ones you cannot verify with a flashlight, and that’s not a limitation of your eyesight. They require a chimney camera, a flue brush long enough to reach the top, and the training to classify what the camera shows. Your job is to make sure they happen, not to do them yourself.
- Liner integrity. A camera inspection traces the full length of the flue liner looking for cracks, spalling, gaps at joints, and missing sections. A compromised liner is the single most common reason a chimney sweep recommends repair rather than a clean. In Provo’s older housing stock with clay tile liners, we find cracking more often than with stainless systems.
- Creosote stage classification. A sweep grades the deposit as stage 1 (soft, sooty), stage 2 (hard, crusty, requires mechanical removal), or glazed stage 3 (shiny, tar-like, the most flammable). The stage determines the cleaning method and how urgently you should act. This is the item most homeowners cannot evaluate solo.
- Crown condition. The crown is the concrete slab at the top of the chimney that sheds water away from the masonry. A cracked or crumbling crown lets water in all winter. A sweep photographs the crown and reports it alongside the liner findings.
- Cap condition. The cap keeps rain, snow, and animals out of the flue. Missing or damaged caps are common causes of water damage and draft problems. If a cap needs replacing, it should be a proper manufactured unit, not a hardware-store improvisation.
- Mortar joint condition at the flue collar and smoke chamber. Deteriorating mortar joints in the smoke chamber are difficult to see from below and impossible to repair with generic patching compound. This is where professional-grade materials matter.
- Flue dimensions and draft performance. An undersized or oversized flue will smoke, and the fix is a proper diagnosis, not a bigger fire.
If you’re in Provo and you want a full inspection on the same visit as your cleaning, this is exactly the split that makes the visit productive. We clean, inspect, and photograph in one pass so you leave with a documented baseline.
Understanding Creosote Stages: Stage 1, Stage 2, and Glazed Stage 3
Creosote is the residue left behind by incomplete combustion of wood, and the three stages matter enormously for how you maintain a Provo chimney. Stage 1 is soft and sooty, cleans up with a standard brush, and is normal after a season of burning. Stage 2 is harder, crusty, and often flaky; it needs mechanical removal with the right brush or rotary tool. Glazed stage 3 is the dangerous one: a shiny, tar-like, hardened deposit that sticks to the liner walls, resists brushing, and burns at very high temperature once it ignites. That’s what feeds a chimney fire.
What determines which stage you’re building? The answer is how completely the wood burns. A few factors reliably push you toward higher stages in Provo:
- Burning unseasoned or “green” wood that contains too much moisture. Wood should season at least one full year before it goes in your firebox.
- Running the fire at low, smoldering temperatures for long stretches. A slow, cool fire is a creosote factory.
- A cold exterior flue. On the first fires of the season, a cold chimney drafts poorly and deposits more residue than it will once the flue warms up.
- Restricted air intake from a closed damper or a clogged screen.
One practical note for wood burners in Provo: spring burning in cool, damp weather produces more creosote than a cold winter fire will, because the firebox and flue stay cool enough to condense smoke. If you’re burning late in the season, watch your deposit and be ready to schedule an extra sweep before next fall.
The stage classification from your sweep is diagnostic. If it comes back as glazed stage 3 regularly with light usage, that’s a sign something in your burning practice or your flue setup needs adjusting. That can be a wood quality issue, a draft issue, or both, and a trained sweep will usually know which one on the spot.
Why September Is the Highest-Value Sweep Month in Provo
Timing matters more than most checklists admit. September is the highest-value month to book a chimney sweep in Provo, and the reason is local: once the valley’s inversion season settles in during the colder months, the air quality in the basin holds onto smoke and particulates in ways that make any roof-level work slower to schedule and harder to fit around weather. Booking before that shift means the sweep and any repair work can happen while the season still cooperates.
The September argument runs on three practical points:
- You catch damage before it has a whole heating season to spread. A hairline crack in the crown in September gets sealed before the first freeze. Discovered in January, it’s had four months of freeze-thaw cycling to grow.
- You get the full appointment window. Fall cold snaps drive a surge of last-minute bookings every year. Booking in September, you’re not competing with every other household in the valley calling on the first cold morning.
- You can pair the sweep with dryer vent cleaning on the same visit. One appointment, two hazards mitigated. That’s worth scheduling around.
In late winter and early spring, the other bookend matters too. After a full season of burning, a spring inspection lets you catch any liner damage, cap damage, or crown cracking while the weather still allows repair work. Plenty of Provo homeowners do the sweep in September and a lighter inspection in March or April. That rhythm gives you year-round coverage without doubling up.
If a fall sweep confirms your chimney is clean and sound, that’s a real answer too. Not every inspection finds a problem, and saying so is part of doing the job right.
The Dryer Vent Checklist: Same Annual Cycle, Same Fire Risk
Lint buildup in a dryer vent and creosote in a flue are two expressions of the same category of problem: a combustion byproduct accumulating in a confined space, waiting for a heat source to ignite it. NFPA data places dryer vent fires among the leading causes of residential structure fires, and lint buildup is the reason. That’s why we keep both services on the same annual cycle: your flue and your dryer vent get attention on the same visit.
Owner-observable dryer vent checklist items:
- Drying time creeping up. A load that used to dry in 45 minutes taking 70 is the clearest early sign of a restricted vent. Not a guarantee, but always worth investigating.
- The dryer feels hot to the touch on the outside of the cabinet. That’s trapped heat, not normal operation.
- The exterior vent flapper doesn’t open fully or doesn’t close completely. Poor airflow or a pest entry point in one sign.
- Lint coating the inside of the lint trap housing beyond the screen itself. Lint accumulating where you can reach past the screen is lint accumulating where you can’t.
- A burning smell or increased heat in the laundry room after a cycle. Stop using the dryer and book the vent cleaning.
Professional dryer vent cleaning uses a rotary brush and vacuum system to clear the full run of duct, not just the accessible section. A proper cleaning also verifies the duct routing (long, sagging, or crushed duct work reduces flow) and confirms the exterior termination is intact. When the exterior termination needs a proper cover, we install a Gelco or Famco venting cap so the exit is code-compliant and weather-tight.
If you’re booking a chimney sweep in fall, this is the moment to schedule the dryer vent cleaning on the same visit. Same day, same trip, same annual checklist.
How to Document Conditions With Dated Photos
Documentation is the quiet half of the checklist that turns every visit into useful information. The goal is simple: give your sweep a baseline to compare against on every future visit, so deterioration is measured instead of guessed. Here is the workflow that works.
- Set up a chimney folder in your phone’s photo app. Anything you capture during your own inspections and anything your sweep provides goes in one place.
- Photograph the same six angles on the same day each year. Firebox interior (back wall), firebox side walls, damper in open position, smoke chamber looking up, exterior crown and cap from a safe vantage point, and the exterior chase from a distance where efflorescence would show. Yarding on day one of fall is fine.
- Enable date and location on your camera. Every photo gets a timestamp and Provo geotag automatically. That makes side-by-side comparison across years straightforward.
- Ask the sweep for the camera inspection images. A good camera inspection produces photos you can keep. Those images become the reference your sweep returns to on every visit.
- Keep a simple log. One line per visit: date, what was found, what was repaired, and what was flagged for next time. That log answers the “did it get worse?” question without relying on memory.
Why does this matter so much? Because a sweep looking at a crack has no way to know whether it appeared this season or has been stable for four years without a reference image. Year-over-year comparison turns subjective impressions into measurable change. If a hairline has held steady for three annual inspections, it may be a monitor-not-repair situation. If it’s widened visibly from one photo to the next, the case for repair is clear. That’s the difference between honest diagnosis and guesswork.
Where DIY Stops: Safety Limits Every Homeowner Should Know
This is the part of the checklist worth reading twice. Some parts of your chimney system are genuinely dangerous to touch, and no guide should walk you through them. Line up the real safety limits with us.
The flue interior and the chimney access from the roof are on the do-not-DIY list. There’s a reason a chimney sweep’s tools exist: a proper flue brush run, camera inspection, and safe roof access require the right equipment, training, and insurance. Roof access especially: a chimney cap inspection that requires going onto the roof of a two-story Provo home is not a Saturday project. If your cap needs looking at, book it. Don’t climb.
The firebox walls and the firebrick are also on the list once cracks appear. Repointing firebrick mortar and resurfacing a damaged smoke chamber are skilled masonry jobs. Generic patching compound is not appropriate there; HeatShield ceramic resurfacing compound is what we use for cracked or deteriorating flue joints because it’s designed for the temperature and chemical environment of a flue. An EPA-recognized repair method is not a DIY substitute.
Carbon monoxide is the invisible risk underneath both the flue and the firebox leaks. Install a CO alarm on every level of your home, and if it ever sounds, follow its instructions and call the fire department first. A sweep can diagnose the cause later.
Never clean a firebox that has ash in it without a metal ash can and a noncombustible staging area. One live ember in a plastic bucket on a wood floor is a fire. That one instruction is basic, and it’s the one a surprising number of homeowners skip. Warm ash, metal can, away from anything combustible, twenty-four hours before disposing.
When a Sweep Becomes a Repair: What to Expect Next
A cleaning inspection sometimes turns up damage. That’s not a sales trick; it’s the point of an inspection. The question is what happens next and how you know the recommendation is sound.
The most common repair after a sweep is a liner repair or replacement. A cracked or deteriorated clay tile flue liner often needs to be relined with stainless steel. That’s a DuraFlex stainless-steel liner system job, and we work with DuraFlex for exactly this. A reline is not the answer for every damaged liner, and it’s the case-by-case judgment your sweep will walk you through before any work gets booked.
The second most common repair is resurfacing deteriorating flue joints. HeatShield ceramic compound is our method here, and it’s a repair that restores the flue interior without tearing anything apart in most cases. The alternative in badly compromised situations is a reline.
The third is exterior repair: crown, cap, or flashing. A damaged crown lets water into the masonry from above. A damaged cap leaves the flue open to the weather. Proper caps through Gelco or Famco and a properly repaired crown keep the system weather-tight.
What makes a repair recommendation honest is the evidence behind it. Every repair we recommend comes with photos from the camera inspection that show the damage. You see what we see. If the damage can safely wait a season, we’ll say so. The written estimate sets the price, and there’s no pressure to tack on work the flue doesn’t need. You’ll hear the full picture before anything is booked.
Common Mistakes to Avoid
- Burning green or unseasoned wood because it’s cheaper. Firewood with high moisture content deposits creosote faster than any other single factor. Season your wood at least a year, ideally closer to eighteen months in Provo’s dry climate, and buy it early so it’s cured before winter.
- Skipping the sweep because you only burned a few fires. Deposit volume is not the only measure of risk. A small amount of glazed stage 3 creosote on a liner is more dangerous than a full flue of stage 1 soot. Camera evidence tells you which one you’re dealing with.
- Letting the dryer vent sit on a different maintenance cycle than the chimney. Both are combustion-related fire risks. Both should be cleaned on the same annual schedule, ideally in the same visit.
- Cleaning the cap yourself from the roof. Fall protection, ladder placement, and roof pitch make this a genuine hazard, especially on the two-story homes common through many Provo neighborhoods. Leave the roof to a trained sweep.
- Trusting a photo-free inspection. If a sweep tells you the liner is cracked and doesn’t show you the picture from the camera, ask for it. Any inspector worth the call will provide it.
- Spreading ash into the garden or trash. One live ember in the wrong container starts a fire. Warm ash in a metal can, covered, at least a day before disposing.
- Booking a sweep in November when September was available. The cold snap surge is real. Booking in September gives you the full appointment window and time to actually complete any repair work before the season locks in.
See the difference
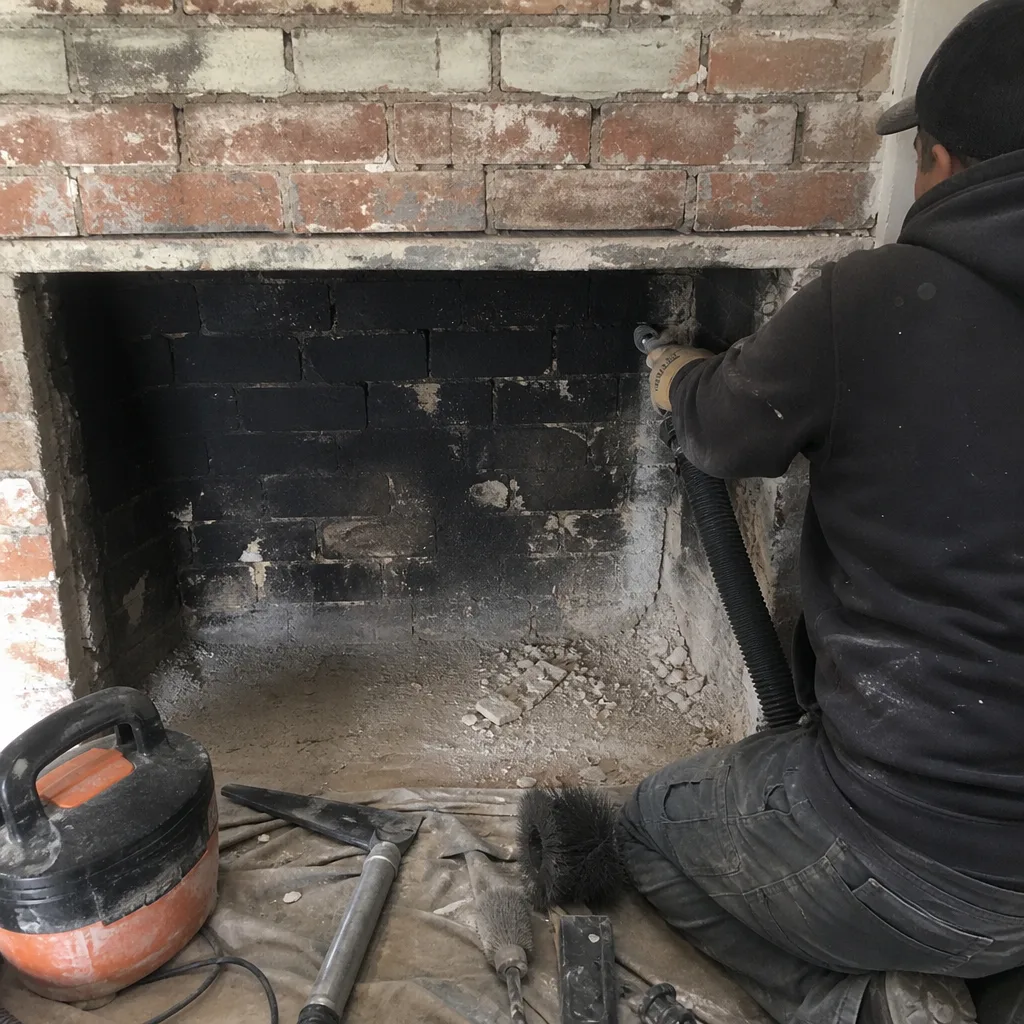 Before
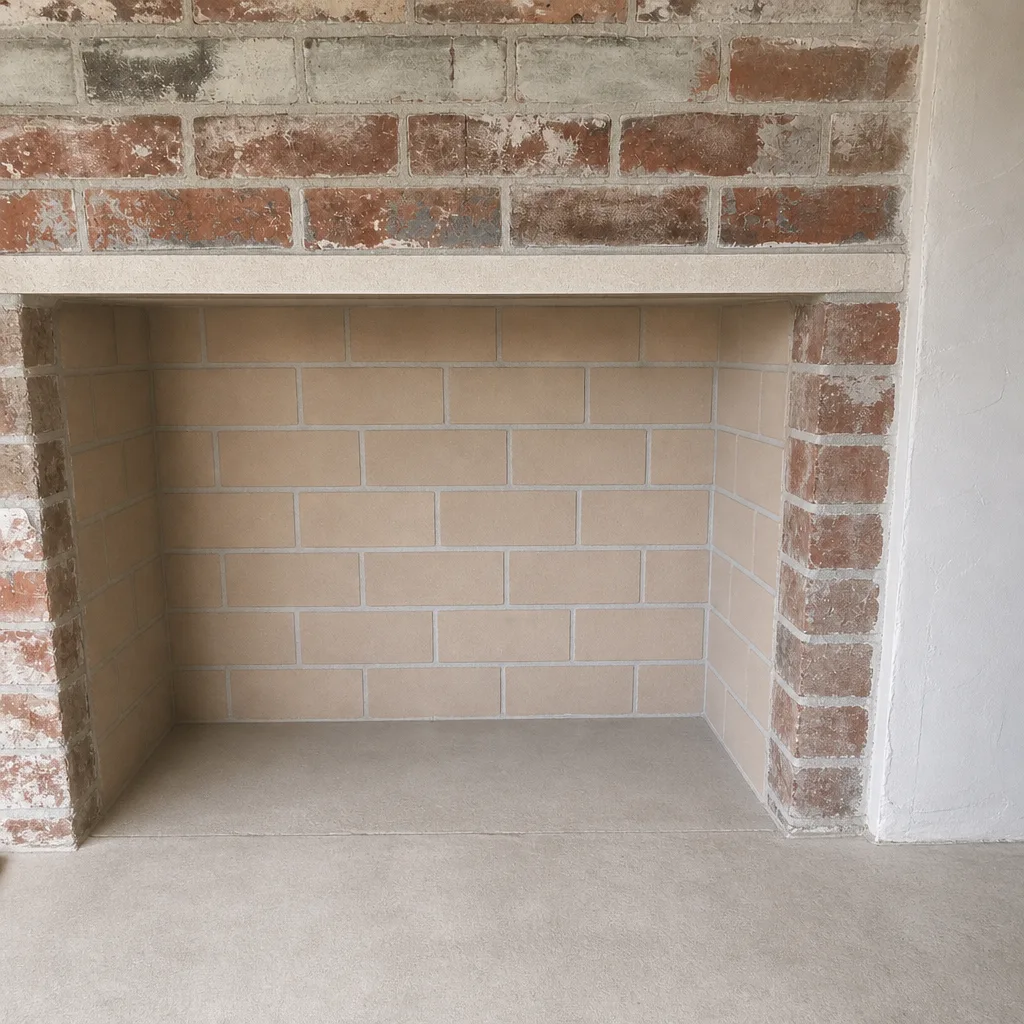 After
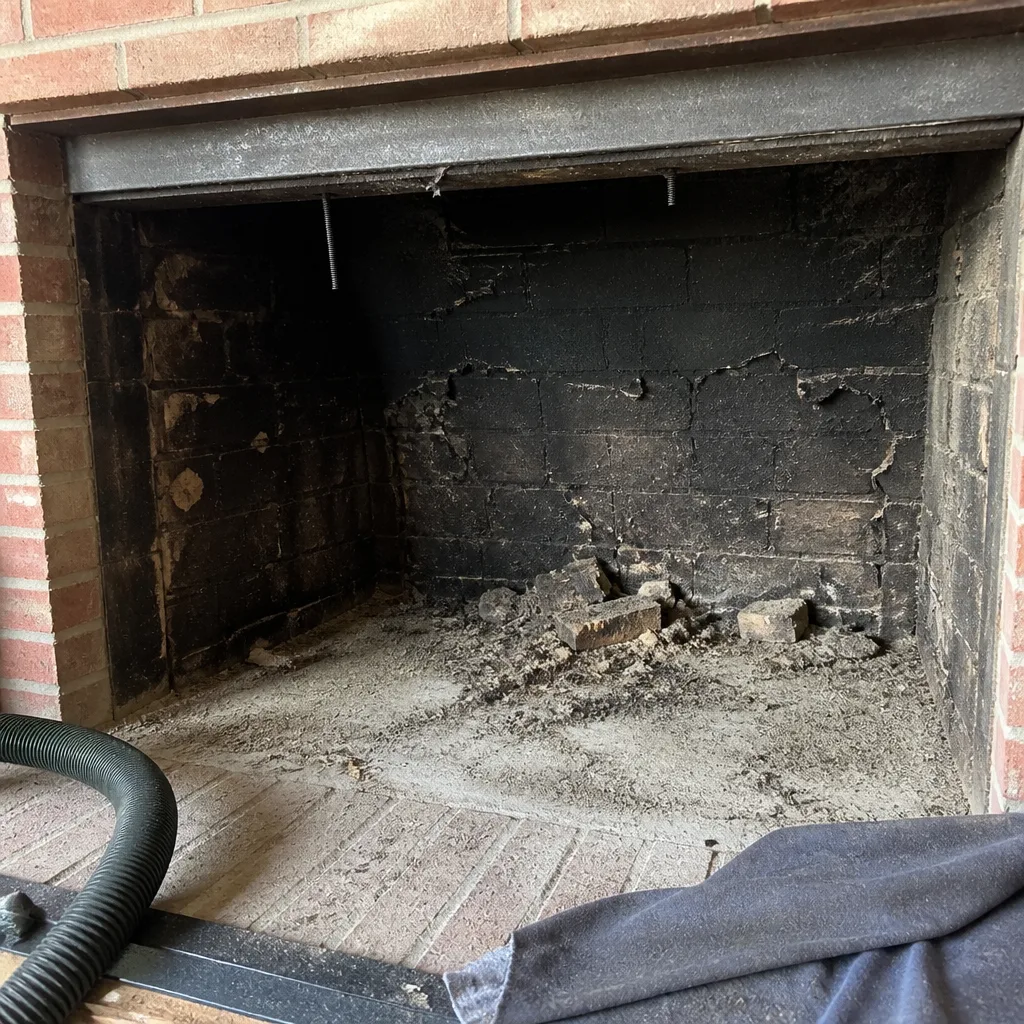 Before
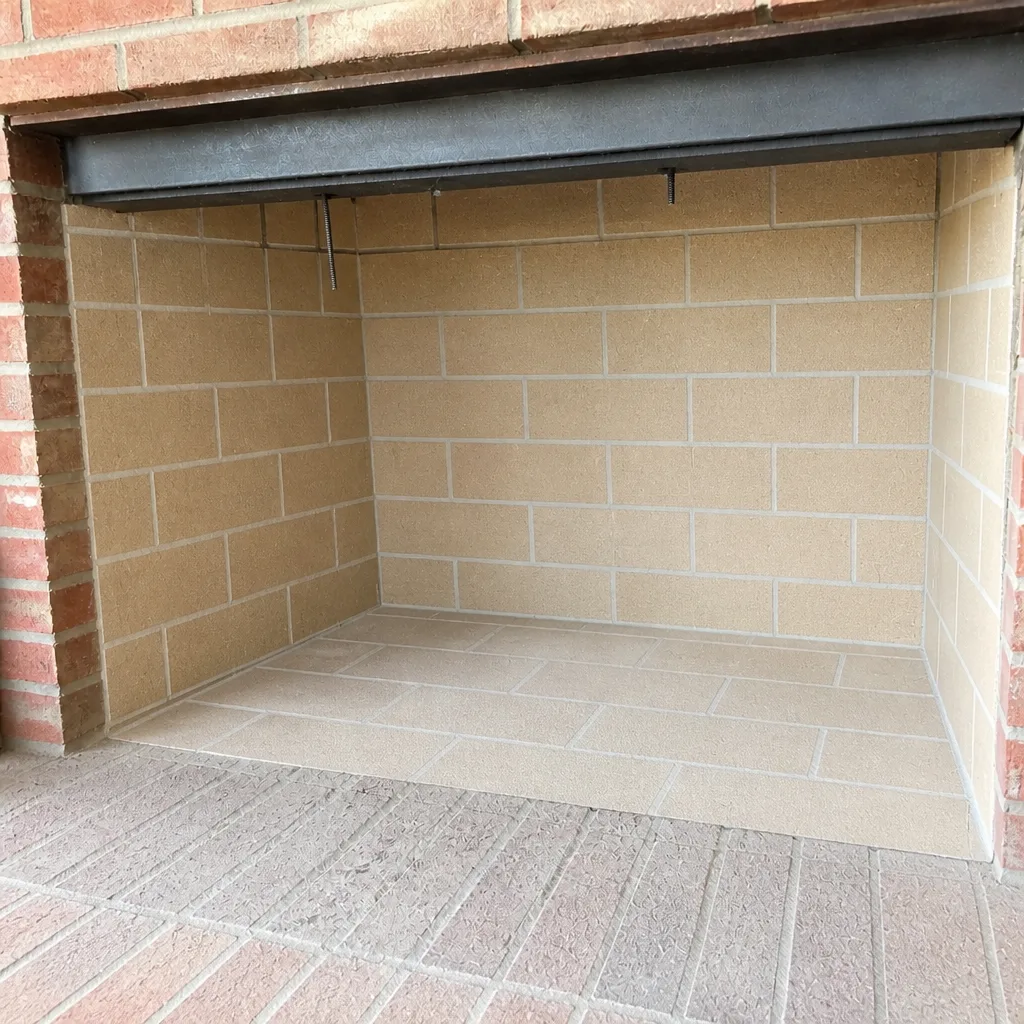 After
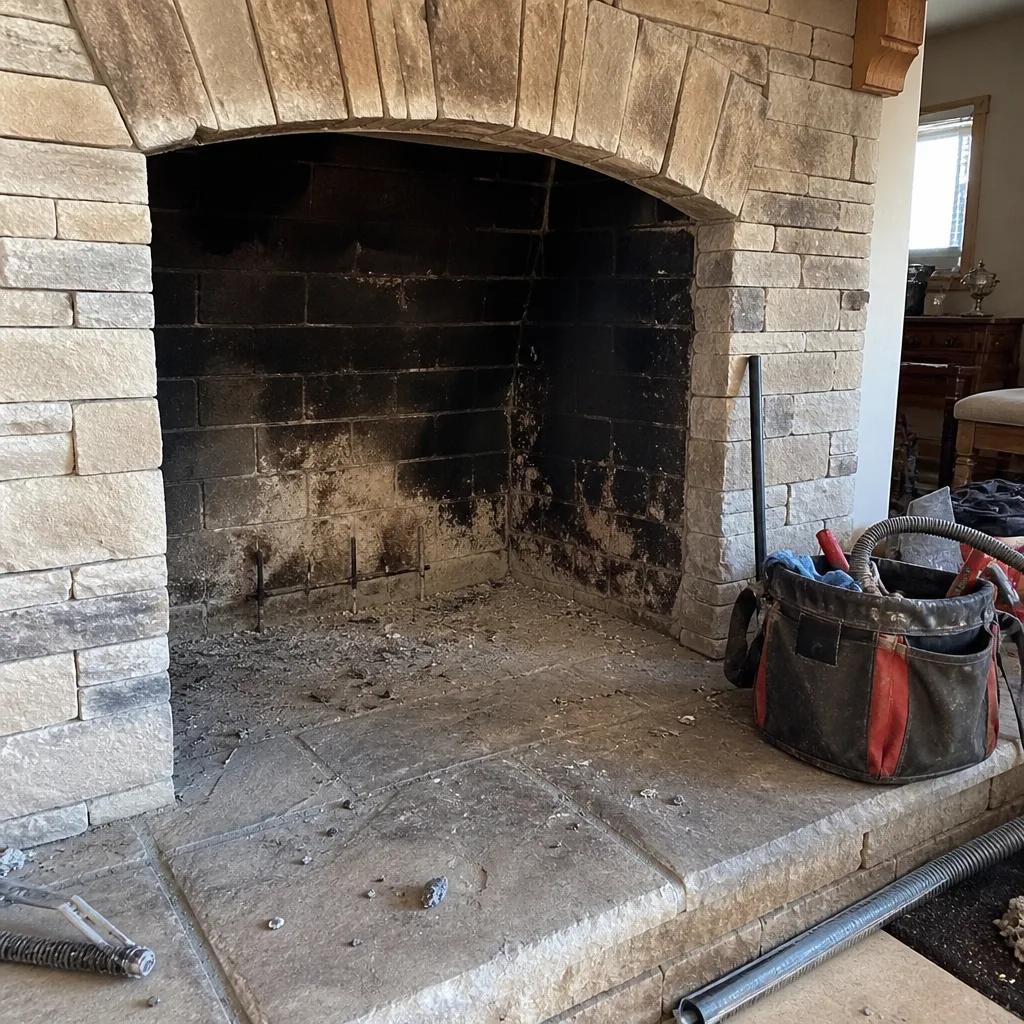 Before
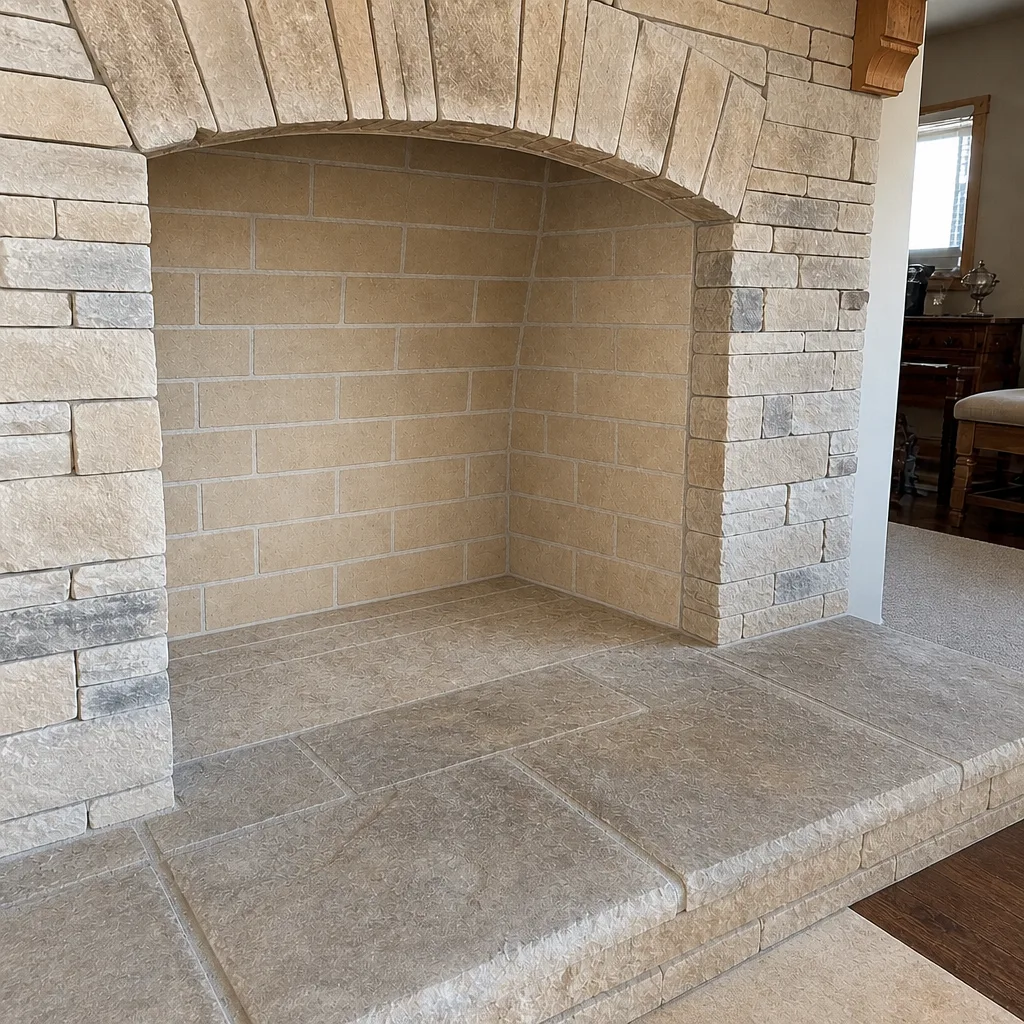 After
When to Call a Professional
Call a professional when any of the following is true: you notice a crack in the liner from a camera inspection; any chimney component is damaged from the outside; you smell smoke in the house when the fire is going; the firebox shows rolling or backdrafting smoke; your CO alarm has ever sounded; or you’re past due for a cleaning and haven’t had an inspection. Call sooner when you’re flagged on a home inspection or an insurance review and need an inspection report for documentation.
If you’re in Provo and want a full checklist run in a single visit, Chimney Sweep Provo handles the sweep, the inspection, and any repair the inspection recommends. We work with DuraFlex and HeatShield for relining and resurfacing, Olympia Chimney and Copperfield for components, and Gelco and Famco for caps and exterior terminations. Our technicians have up to 15 years of experience. Chimney Sweep Provo offers free estimates in Provo; call (855) 340-2065 to book.
Frequently Asked Questions
Once a year for most households that burn through the heating season, and twice a year if you burn wood regularly through the cooler months or if your sweep finds stage 2 or glazed stage 3 creosote. Many Provo homeowners settle into a September sweep and a spring inspection pattern. Pair the annual sweep with a chimney sweep plus dryer vent cleaning visit for the cleanest operating margin. Call (855) 340-2065 for an exact quote; estimates are free.
Creosote keeps accumulating inside the flue even if you burn carefully. What starts as stage 1 soot can become stage 2 crust and eventually glazed stage 3, and glazed stage 3 is the fuel that feeds a chimney fire. Skip long enough and the deposit is also harder and more expensive to remove. Carbon monoxide risk rises if the flue is blocked or the liner is compromised and you don’t know it. Call (855) 340-2065 for an exact quote; estimates are free.
Yes for the owner-observable items: firebox joint separation, damper operation, efflorescence on the exterior chase, and smoke chamber staining. All four can be checked with a flashlight and your phone camera from the ground and from the firebox. The liner, creosote stage, and the crown and cap from above require a trained sweep. Call (855) 340-2065 for an exact quote; estimates are free.
Provo follows Utah code and the International Residential Code for chimney construction and venting, which means a properly listed liner, proper termination height above the roof, and a code-compliant cap and crown are all part of the requirements. Ask your local building department for permit specifics if you’re planning a rebuild or liner replacement. For most repair work a sweep inspection is the first step to know what the code requires for your specific setup.
Yes. NFPA data identifies dryer vent fires among the leading causes of residential structure fires in the US, and lint buildup in the duct is the mechanism. That’s the same class of problem as creosote: combustible residue accumulating in a confined space next to a heat source. Both belong on the same annual maintenance checklist. Call (855) 340-2065 for an exact quote; estimates are free.
Ask for the camera inspection photos. Any sweep can produce them; the ones you can actually see are the ones that matter. A repair recommendation should show a specific defect in a photo you can inspect yourself. If the issue can safely wait a season, a fair sweep will tell you that too. Call (855) 340-2065 for an exact quote; estimates are free.
The Bottom Line
The best Provo homeowners’ chimney maintenance checklist splits cleanly into two halves: what you can observe with a flashlight and your phone, and what requires a trained sweep’s tools and camera. Firebox joints, damper operation, efflorescence, and smoke chamber staining are yours to watch. Liner integrity, creosote stage, crown and cap condition, and flue draft performance belong to the sweep. Book the sweep in September, before inversion season; pair it with dryer vent cleaning on the same annual cycle; document everything with dated photos so year-over-year comparison becomes possible. When the inspection finds damage, ask for the photo that shows it. Call (855) 340-2065, we answer 24/7, and fast dispatch from 7am to 7pm, Sunday through Friday, gets the sweep on the calendar. Free estimates, written before any work is booked. If you’re still getting oriented, start with an overview of Provo chimney care on the main page.
Written by the team at Chimney Sweep Provo.